
How do I use the 12-month calendar?
 3:45
3:45
"How do I use the 12-month calendar?"
There's a 12-month calendar for both pay batch and person. Each shows you a full year of events, both past and future.
To see a pay batch's 12-month calendar, and change its holidays:
- First, select the pay batch on: "Menu", then "Pay batches"
- Then tap: "Calendar", then "12-month calendar"
- You can see the pay batch's next upcoming holiday (at the top).
- And you can see how many days until its next payday.
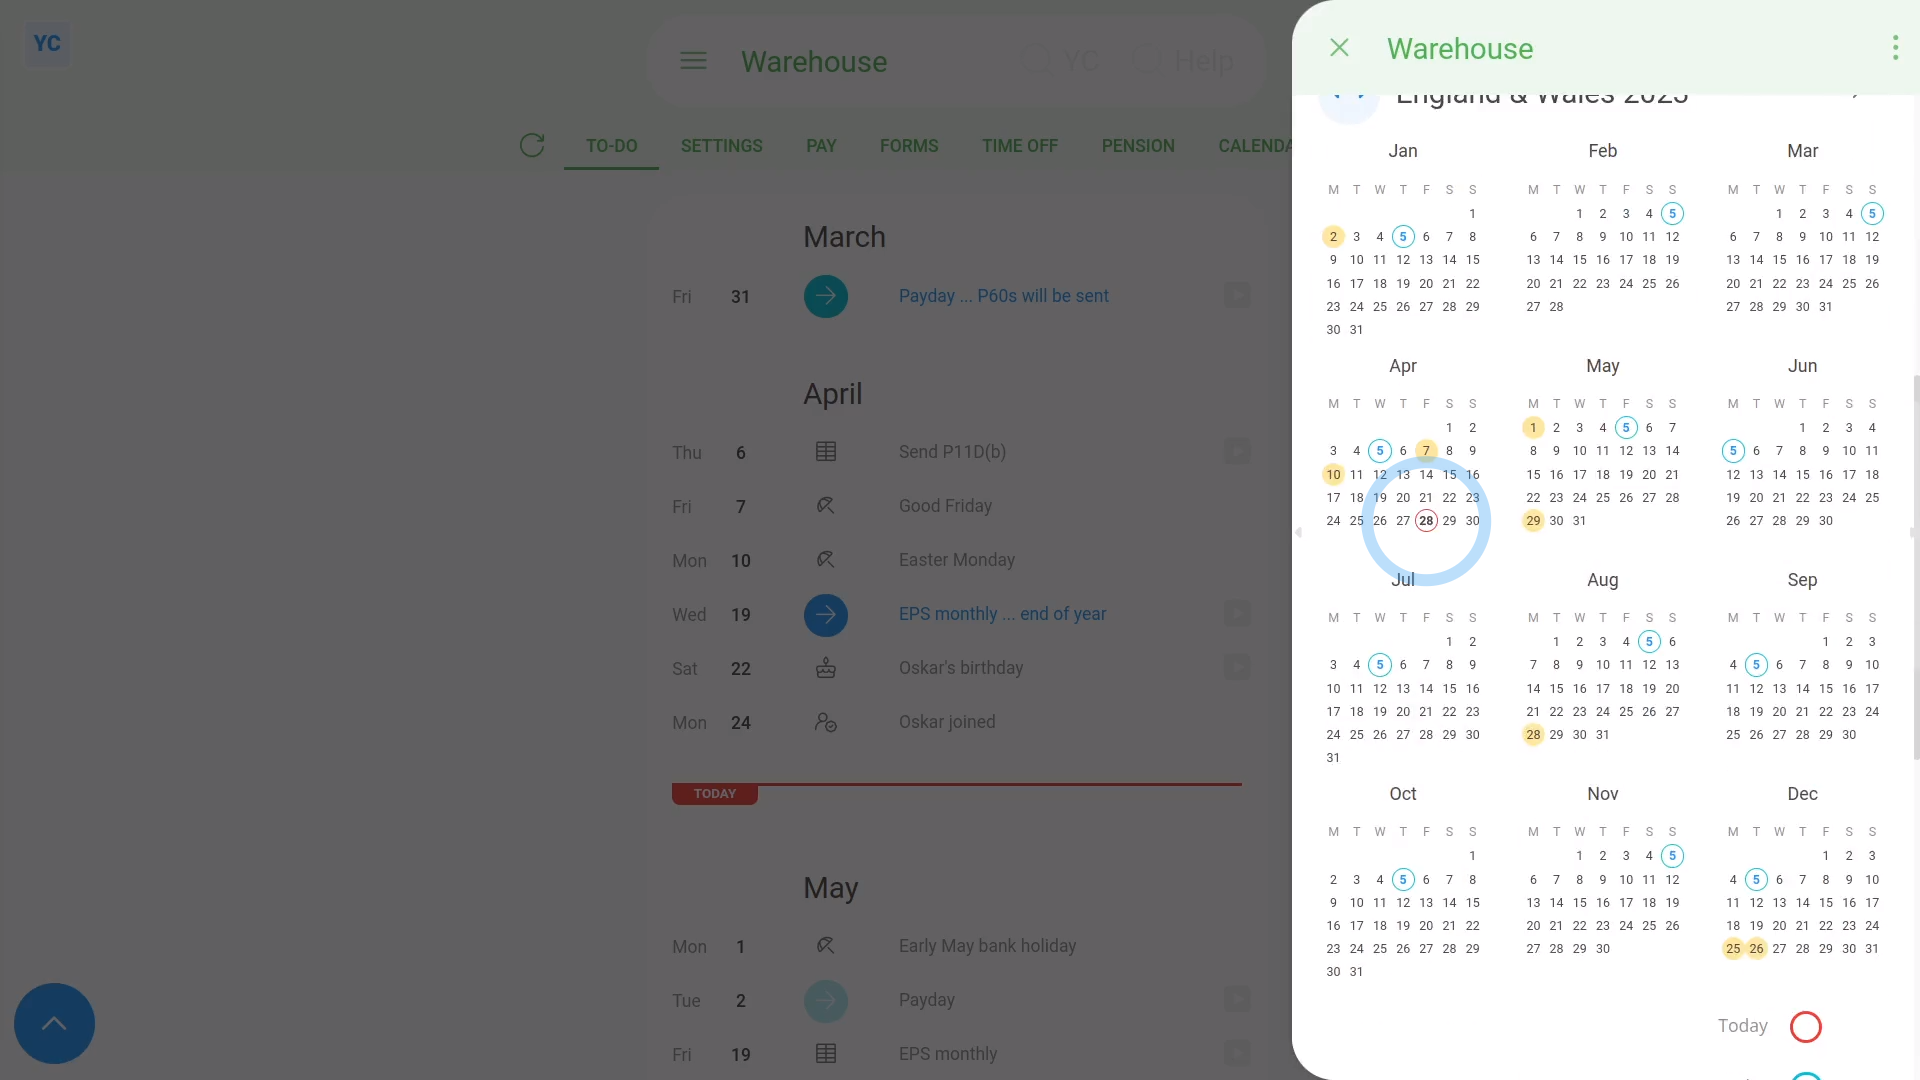
- In the main part of the page you can see all 12 months of the year, with today's date circled in red.
- To change its holidays, scroll down to "Pay batch holidays" (near the bottom). Then tap the "Edit" button:
- And select a different "Paid holidays" setting.
- After the calendar updates, you'll see the new calendar heading, with its new holiday dates shown in light orange.
- Next, the days with blue outlines mark each of the pay batch's paydays for the year.
- And finally, if you hover your mouse over a day with a blue outline, it highlights the pay period days that the payday covers. Now you'll see the first and last day that each pay period covers.

Keep in mind that:
- Changing the holidays for a pay batch applies the change to all the people in the pay batch.
To see a person's 12-month calendar:
- First, select the person on: "Menu", then "People"
- Then tap: "Calendar", then "12-month calendar"
- You can see the year that you're on, in the heading.
- And you can tap the triangle buttons (near the heading) to skip forward and back a year.
- Next, to see 7 days of a person's timesheets in "Timelines ... weekly", tap the grey circles (at the start of each week).
- The light grey days mark non-working days, like weekends.
- And the light orange days mark: "Pay batch holidays"
- When you hover your mouse over one, it also tells you the name of the holiday.
- All the other days are working days.
- If you tap any working day, you'll see the person's timesheet for that day.
- And finally, if you tap a payday (with a blue outline), it asks if you want to open that day's "Payslip" or: "Timesheet"
To change which days are a person's non-working days:
- First, select the person on: "Menu", then "People"
- Then tap: "Pay", then "Pay settings"
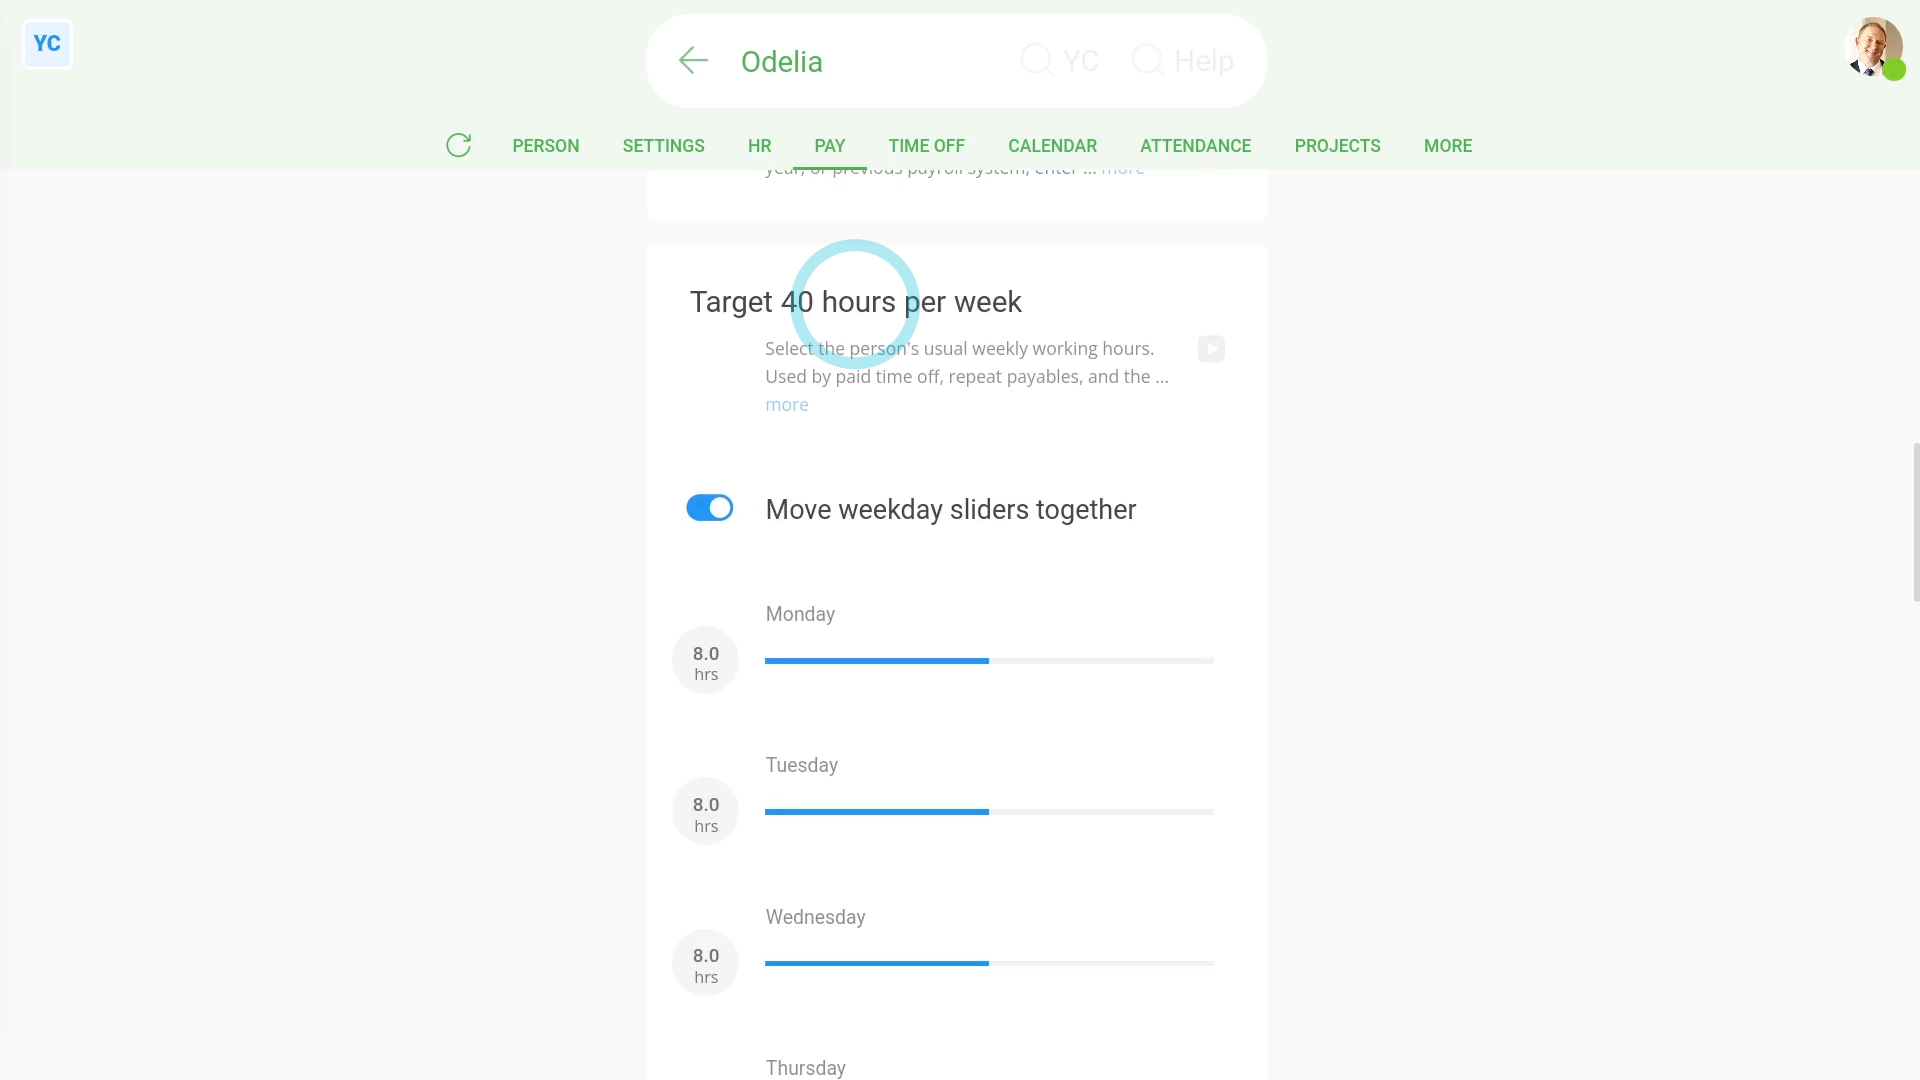
- Scroll down to the "Target hours per week" heading.
- And turn off: Move weekday sliders together
- Next, drag the person's working days' sliders to whatever hours the person works.
- And drag the non-working days' sliders to zero.
- Then tap: Save
- Next, go to the person's: "Calendar", then "12-month calendar"
- And finally, you'll now see the new non-working days marked in light grey.
You may notice:
- That if you scroll to the bottom of the 12-month calendar, there's a useful colour reference.
- The colour reference reminds you what each part of the calendar means.
And that's it! That's everything you need to know about a pay batch or person's 12-month calendar!